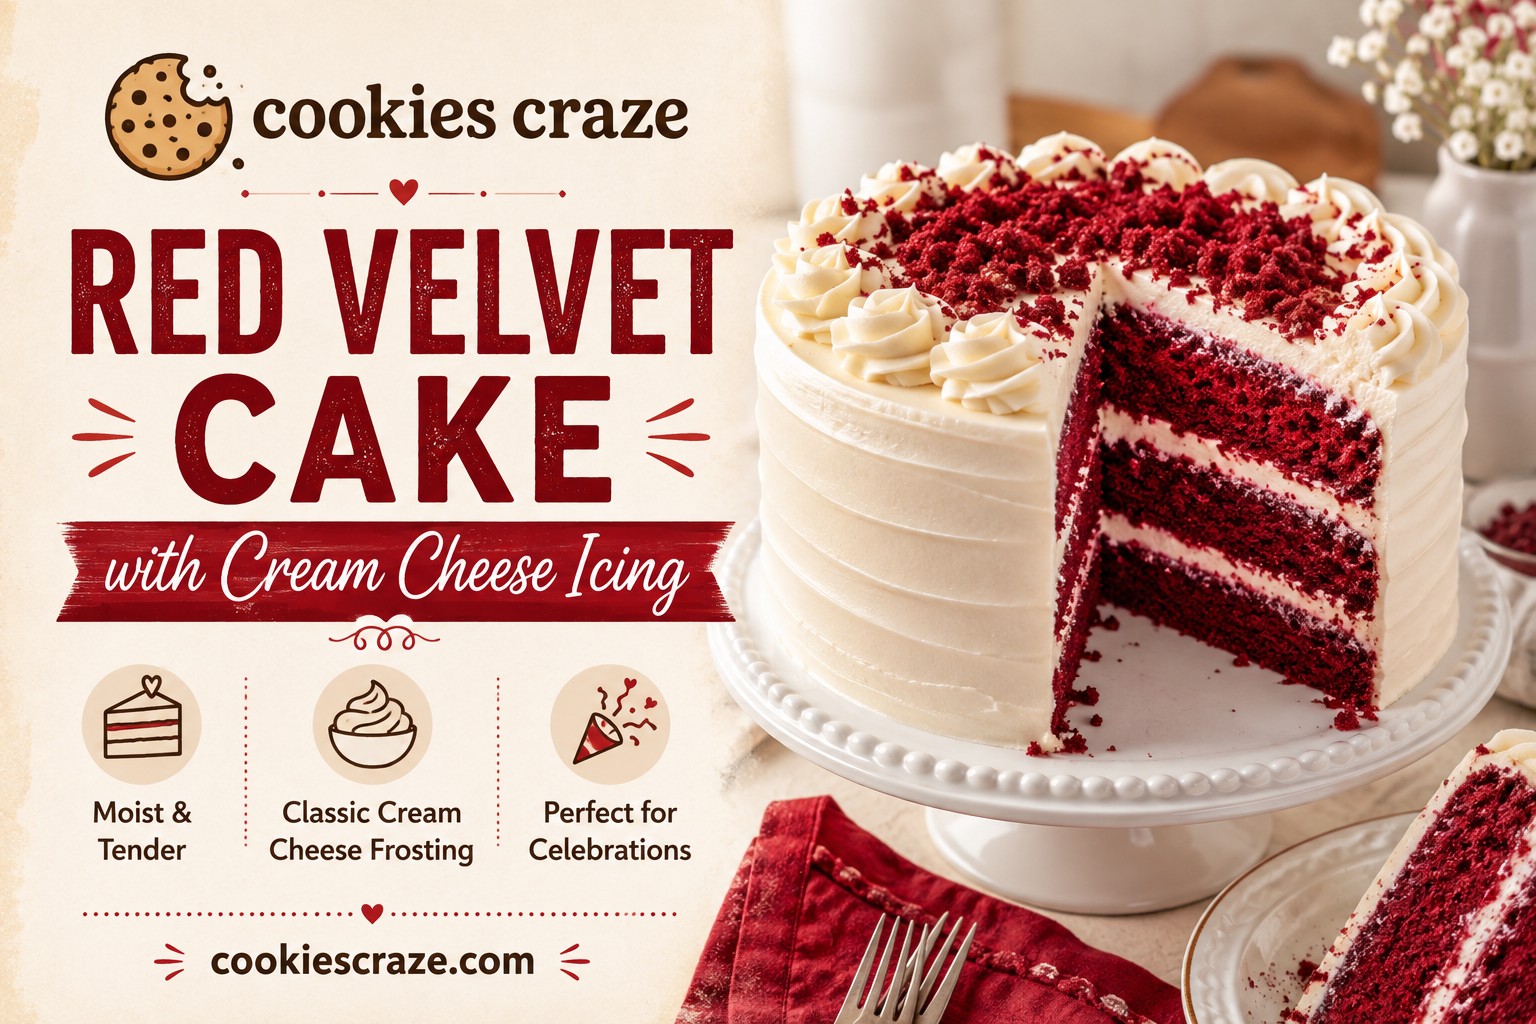

The first slice of red velvet cake should feel like a celebration. Its ruby layers look dramatic, but the flavor is gentle: mild cocoa, warm vanilla, and a light tang that keeps every bite interesting.
I tested this red velvet cake with cream cheese icing for home bakers who want bakery-style results without fussy techniques. The two-bowl batter stays soft for days, and the icing spreads without sliding. Serve it for birthdays, Valentine’s Day, Christmas, or an extra-special afternoon.
Why You Will Love This Recipe
Red velvet is not simply chocolate cake colored red. Cocoa plays a supporting role, while buttermilk and vinegar create its signature tang and tender texture.
- Oil keeps the layers moist, while butter adds flavor.
- Buttermilk creates a soft, velvety crumb.
- Natural cocoa adds mild chocolate flavor without hiding the vanilla.
- A crumb coat makes decorating easier.
- One cake serves 10 to 12 people.
Ingredients You Will Need
For the Red Velvet Cake
- 2 1/2 cups (300 g) all-purpose flour, spooned and leveled
- 2 tablespoons natural unsweetened cocoa powder
- 1 teaspoon baking soda
- 1/2 teaspoon fine salt
- 1/2 cup (113 g) unsalted butter, softened
- 1 1/2 cups (300 g) granulated sugar
- 1 cup (240 ml) neutral vegetable oil
- 4 large eggs, at room temperature
- 1 tablespoon vanilla extract
- 1 cup (240 ml) buttermilk, at room temperature
- 1 teaspoon distilled white vinegar
- 1 to 2 teaspoons red gel food coloring
For the Cream Cheese Icing
- 16 ounces (450 g) full-fat block cream cheese, slightly softened
- 1/2 cup (113 g) unsalted butter, softened
- 4 cups (480 g) powdered sugar, sifted
- 2 teaspoons vanilla extract
- Pinch of fine salt
Use block cream cheese. The spread sold in tubs contains more water and may produce runny icing.
How to Make Red Velvet Cake
1. Prepare the Pans
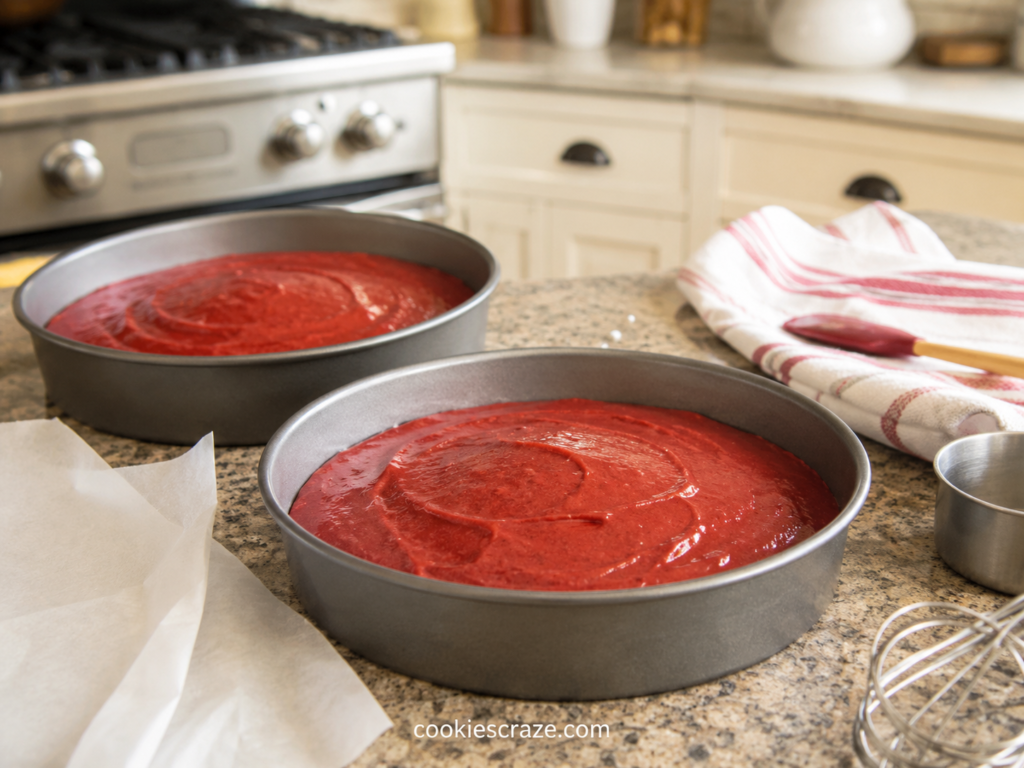
Heat the oven to 350°F (175°C). Grease two 9-inch round cake pans, line the bottoms with parchment, and grease the paper. I always use parchment after learning how easily one stuck patch can tear a warm layer.
2. Mix the Dry Ingredients
Whisk the flour, cocoa, baking soda, and salt. Weigh the flour if possible. When using cups, spoon in the flour and level it instead of scooping from the bag.
3. Build the Batter
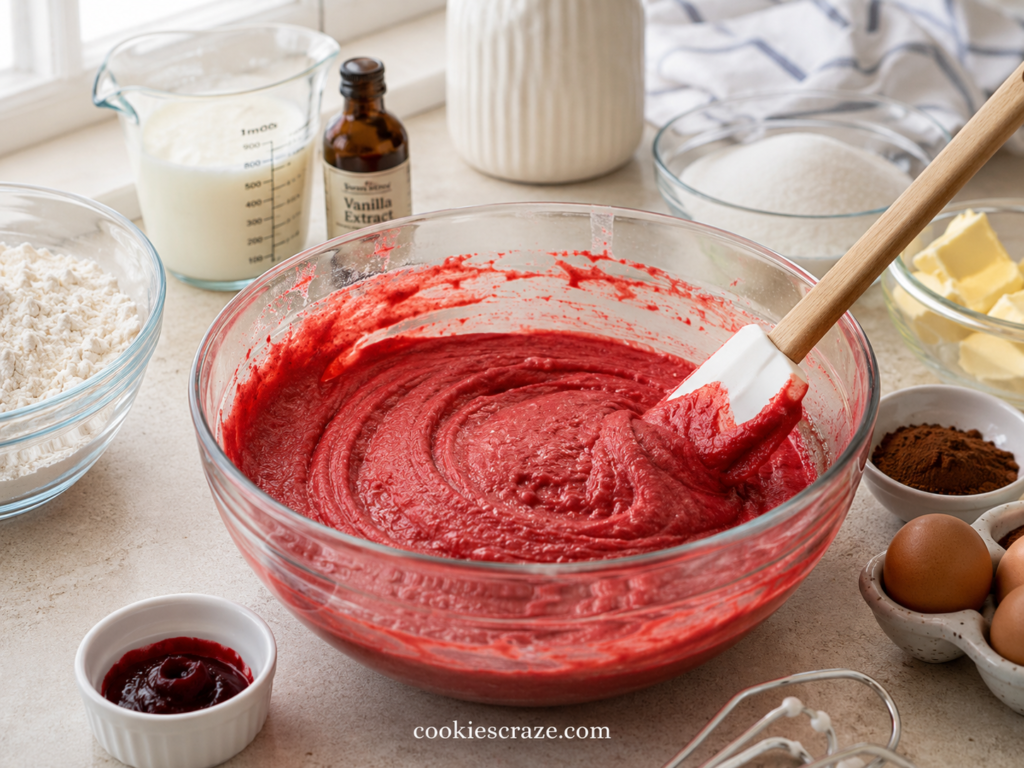
Beat the butter and sugar for two minutes, until light and creamy. Slowly mix in the oil. Add the eggs one at a time, followed by the vanilla, vinegar, and coloring.
Add the dry mixture in three additions, alternating with the buttermilk. Begin and end with dry ingredients, and mix only until the last flour streak disappears. Overmixing can make the cake dense.
Divide the batter between the pans. Bake for 28 to 32 minutes, until the centers spring back and a toothpick shows a few moist crumbs. Cool in the pans for 10 minutes, then turn the layers onto a rack to cool completely.
What Frosting Is on Red Velvet Cake?
If you have wondered what frosting is on red velvet cake, the classic answer is cream cheese frosting. Its tang balances the sweet layers and echoes the buttermilk. That is why cream cheese frosting on red velvet cake tastes more balanced than sugary buttercream.
Beat the butter until smooth. Add the cream cheese and mix briefly. Beat in the powdered sugar one cup at a time, followed by the vanilla and salt. Stop when the icing is creamy and spreadable.
This is my favorite frosting for a red velvet cake because it holds soft swirls but still tastes fresh. If your kitchen is warm, chill it for 15 to 20 minutes before decorating.
Icing a Red Velvet Cake Without Crumbs
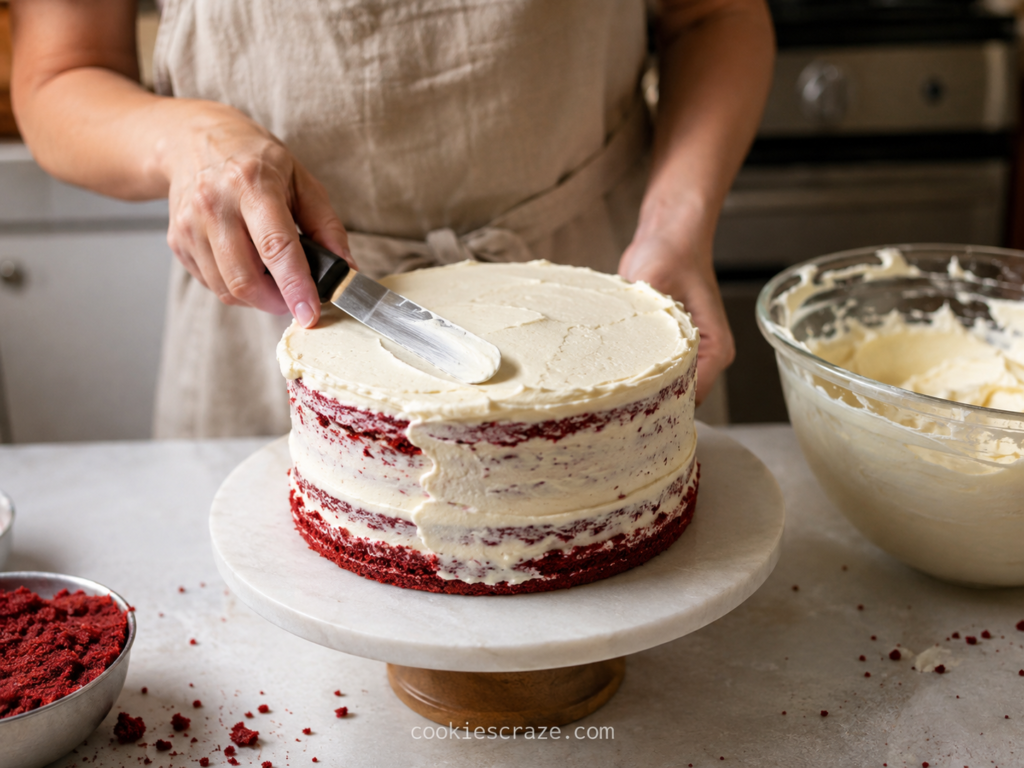
For neat icing on red velvet cake, make sure the layers are cool. Place one layer on a plate, spread about one cup of frosting over it, and add the second layer with its flat bottom facing upward.
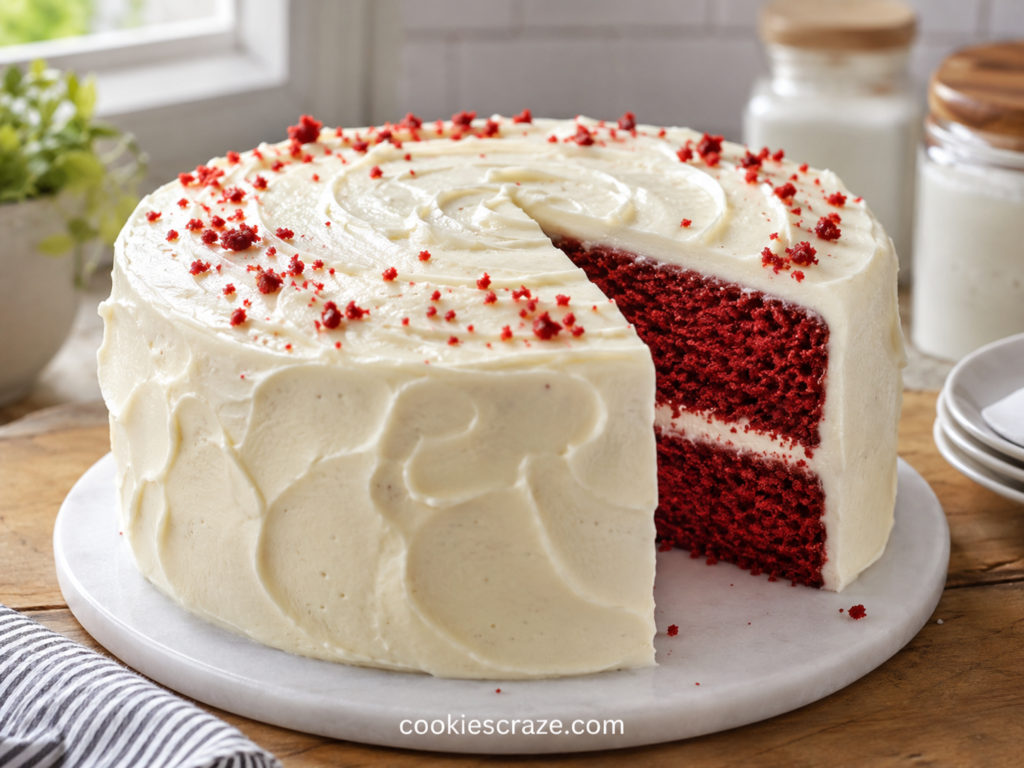
When icing a red velvet cake, spread a thin coating over the top and sides to trap red crumbs. Chill for 20 minutes, then add the remaining frosting. Use a bench scraper for clean sides or a spoon for casual swirls.
For an easy finish, scatter a few cake crumbs around the top edge. It looks polished and requires no piping bag.
Chef Tips for the Best Results
- Bring eggs and buttermilk to room temperature for a smooth batter.
- Use natural cocoa, not Dutch-process, so its acidity works with the baking soda.
- Begin with one teaspoon of gel coloring and add more if needed.
- Test the center with a toothpick rather than judging by color.
- Cool the layers fully before adding frosting on red velvet cake, or it may melt.
- Chill the cake for clean slices, then rest each serving for 15 minutes.
Storage and Make-Ahead Notes
Cover and refrigerate the cake for up to four days. Keep individual slices airtight to protect their cut edges.
Bake the layers one day ahead, cool them, wrap tightly, and leave them at room temperature overnight. Refrigerate the icing for up to two days, then soften and stir it before use.
Quick Recipe Card
| Recipe Details | Information |
|---|---|
| Prep time | 30 minutes |
| Bake time | 28 to 32 minutes |
| Cooling and decorating | About 1 hour |
| Oven temperature | 350°F (175°C) |
| Yield | One 9-inch layer cake, 10 to 12 slices |
Quick method: Whisk the dry ingredients. Cream the butter and sugar; add the oil, eggs, vanilla, vinegar, and coloring. Alternate the dry mixture with buttermilk. Bake in two lined pans, cool completely, fill, crumb-coat, chill, and finish with cream cheese icing.
A Cake Worth Sharing
A beautiful red velvet cake does not require professional equipment. Accurate measurements, gentle mixing, cool layers, and a quick crumb coat make the biggest difference.
Bake this red velvet cake with cream cheese icing for your next celebration, then decorate it with soft swirls, cake crumbs, berries, or white sprinkles. Slice it, share it, and tell me which occasion brought it to your table.